Organizes files into Recent, Audio, Images, and Videos
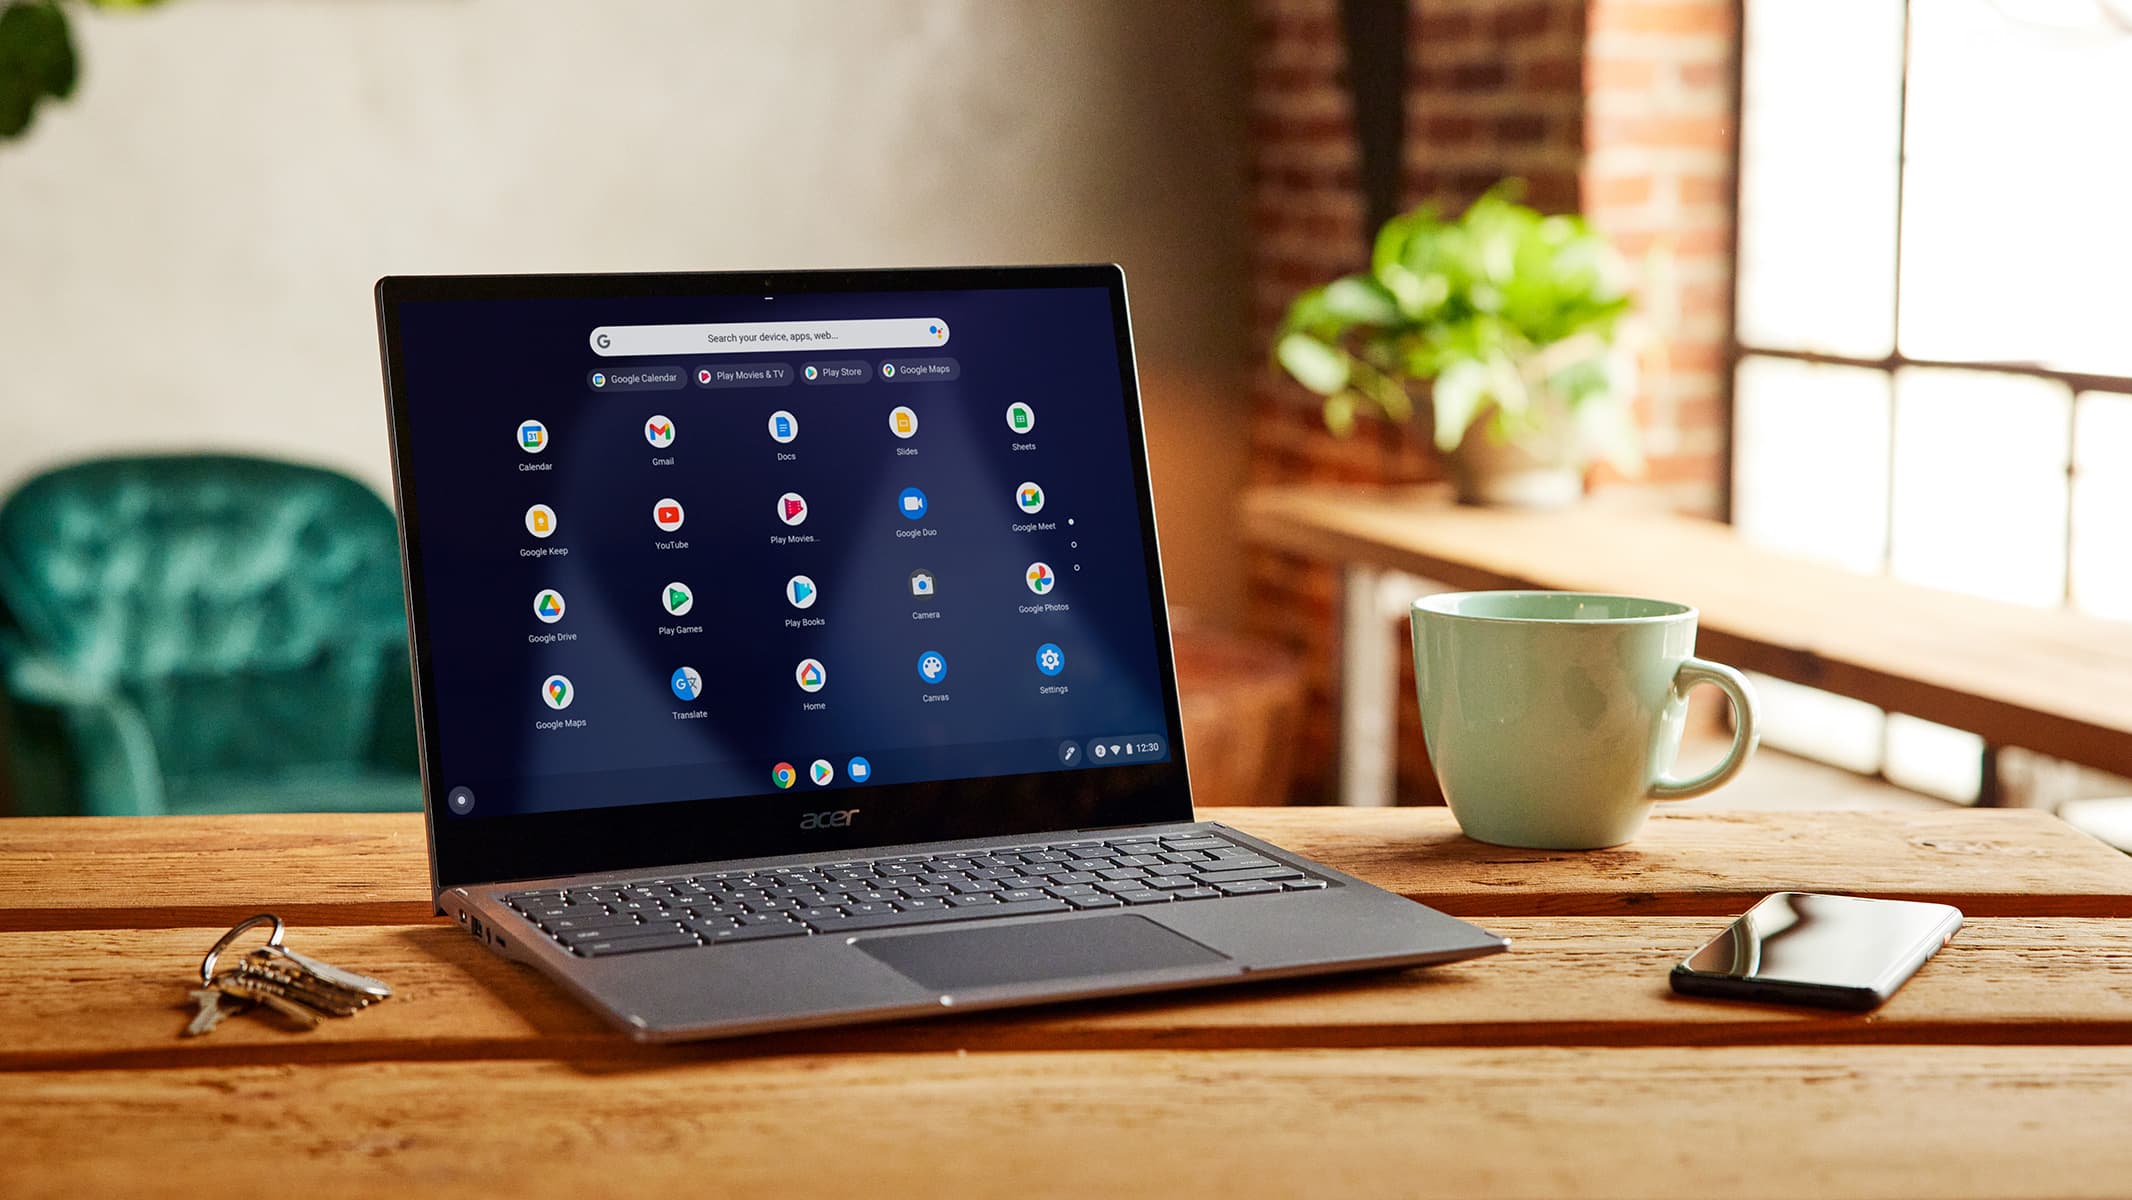
To organize files on your Chrome OS 101 computer, open the “Files” app. It will be listed in the applications window below the search bar and other recently used apps. To access the Files app, click on the “up arrow” next to the search box. Files will automatically organize your files into folders, such as Recent, Audio, Images, and Videos.
The Files application on a Chromebook allows users to organize their files into folders. Files are organized by type. Chromebooks have limited storage, so it is recommended to get one with 32GB or more. If you can afford a higher storage size, consider the Google Pixelbook, which has 64GB. This way, you can save more music and videos on your Chromebook.
Besides the Recent, Audio, and Images folder, the Files app also lets you organize your files into various categories. Depending on the folder name, you can view or edit files by clicking on them. Besides, it includes built-in photo enhancement features, including cropping and rotation. Images can be edited using lighting filters, and you can also annotate them with buttons and tools.
Stores downloaded files on storage device before erasing
When you download a file from Google, it automatically goes into the trash folder, and it used to stay there forever. That’s no longer the case. Files in Trash will be deleted automatically after 30 days. If you want to keep files locally, you need to change your settings in Chrome OS so that the system will automatically save files to Drive or Photos instead of erasing them. The problem with this is that Chrome OS is not designed to store files on the storage device.
By default, your Chromebook will save downloaded files to the Downloads folder, but you can move them to other folders if you want. The following guide will explain how to manage downloaded files on Chrome OS. Go to Settings and click Files to see a list of downloaded files. Drag these files into the folders of your choice to make them permanent. Once they are there, you can delete them or move them to a permanent folder.
You can also check the size of available local storage on your Chromebook by going to the Storage section. Select the Downloads folder and you can see the files that you’ve downloaded recently. To delete the files, tap the corresponding icon. You can also view the files that have been downloaded to your Chromebook locally. This will free up local storage space. If you have an extensive download history, you can select the files that need to be deleted from Downloads.
Backs up files on storage device before erasing
Before erasing the storage device on your Chrome OS 101 tablet, make sure to back up your files. In case of disaster, you might want to restore your tablet. There are a few places you can back up your files, but the most important ones are the Documents and Downloads folders. Moreover, the Documents folder contains the cache files of apps and takes up a large amount of space. Backing up your files here is highly recommended if you want to use Google Drive or the other cloud-based services.
Conclusion
If you have an external hard drive or thumb flash, you can use the Files app to back up your data. If you don’t back up your files before erasing the storage device, you may end up with broken and inaccessible files. To avoid this, open the Files app and press CTRL + P. Next, click on “Eject device” on the top right corner. Once the file is selected, you can check how much space is left on the storage device.